
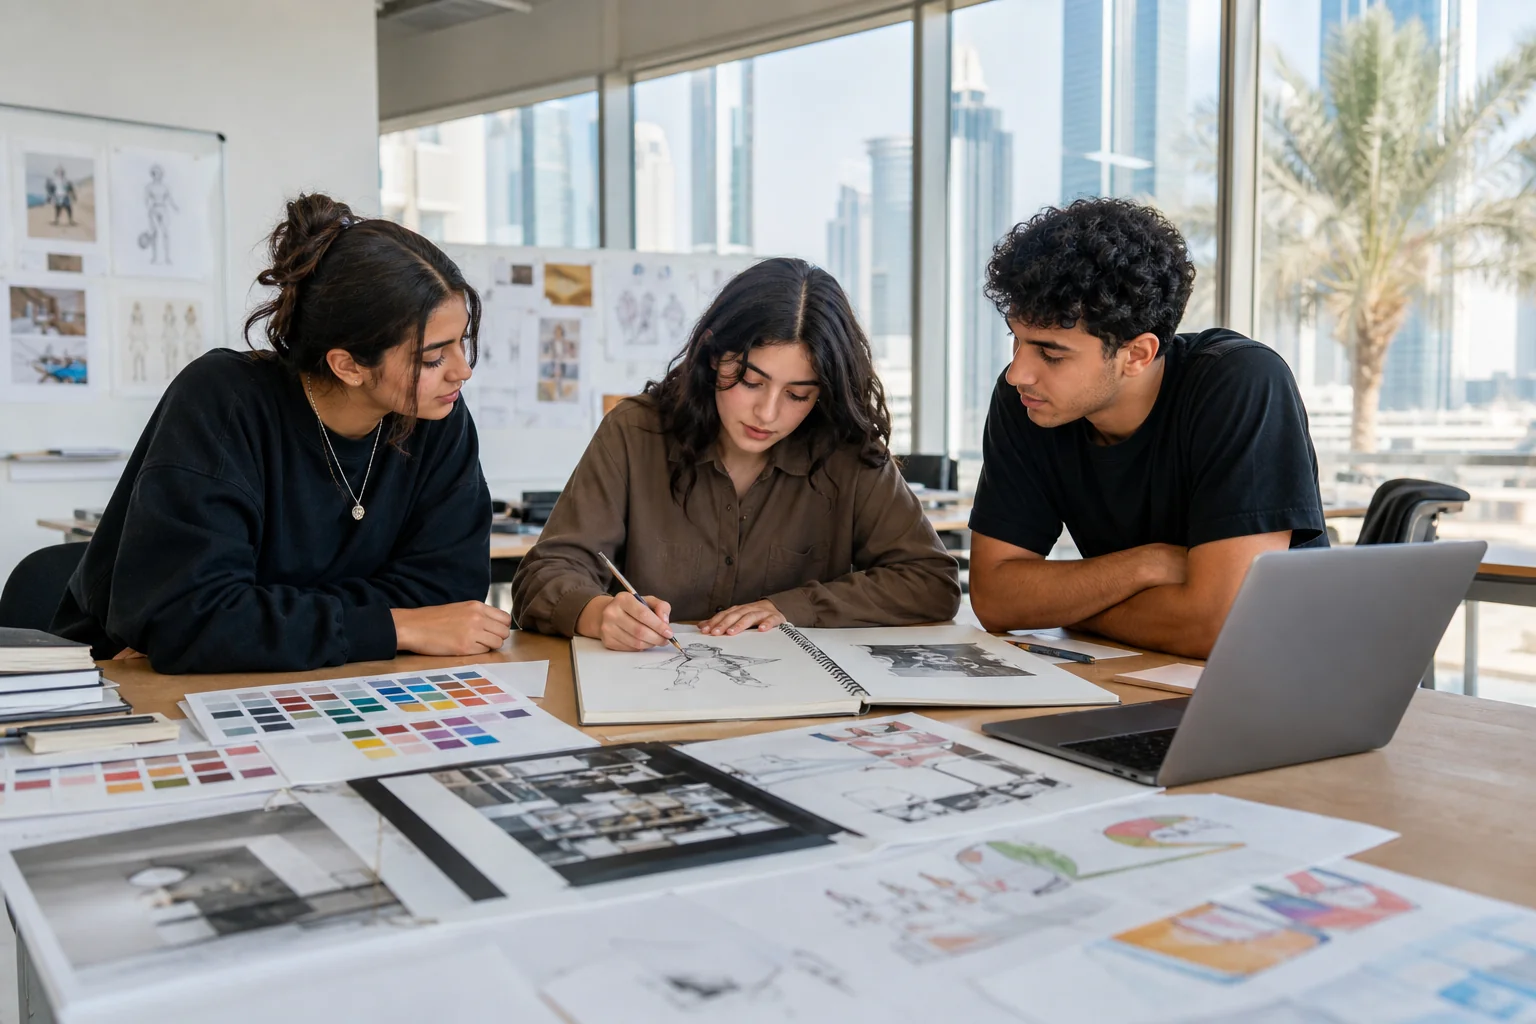
Preparing a portfolio for design admission in Dubai
Start preparing your Dubai design admissions portfolio with the requirements of the particular programme. There is no single compulsory format for every university: some request creative ideas, others a developed project portfolio, while a portfolio may be optional at another study level.
A good selection shows how you notice a problem, investigate it, try solutions and explain the outcome. Showing the process alongside the final work is therefore helpful. Below are verified requirements and editorial learning examples. They are neither admitted students’ work nor examples approved by an admissions panel.
Portfolio requirements at Marangoni Dubai and DIDI
| Institution and route | What the official page establishes | What to do |
|---|---|---|
| Istituto Marangoni Dubai creative three-year courses | Lists 6 Creative Ideas; sketches, drawings, photographs, mood boards and collages are allowed; A4/A3 and PDF, TIFF, JPG or ZIP formats | Check your specific course section and develop your own ideas |
| Istituto Marangoni Dubai certain later study levels | Separate creative portfolio requirements appear for creative programmes | Do not apply the six-ideas rule automatically to every level |
| DIDI Bachelor of Design | The admissions page reviewed lists documents and a personal statement; no compulsory portfolio item was found | Confirm requirements for the selected programme; absence of an item is not a confirmed exemption |
| DIDI Master of Design in Creative Leadership | Portfolio is described as optional, but the admissions panel may request it | Prepare material if required; do not apply this rule to the bachelor’s |
Sources checked on 15 September 2026: Marangoni Entry Requirements Dubai, DIDI Admissions, DIDI Master of Design.
A university may distinguish ordinary admission from scholarship competition requirements. Establish the route first, then check the current assignments, format and deadline. To choose between fashion, product design and media, see the overview of creative subjects in Dubai.
What each piece should communicate
Show the decisions you made as well as the outcome. A short sequence can guide each project:
- Task: who the work is for and why it was made.
- Observation: what you investigated, such as an object, space, habit or visual material.
- Alternatives: solutions you tried and why some were rejected.
- Outcome: the final version, model or prototype.
- Reflection: what you tested and what you would change next.
This is a suggested narrative structure, not a universal university marking scheme. It helps readers understand your role and the logic of the work without an oral explanation.
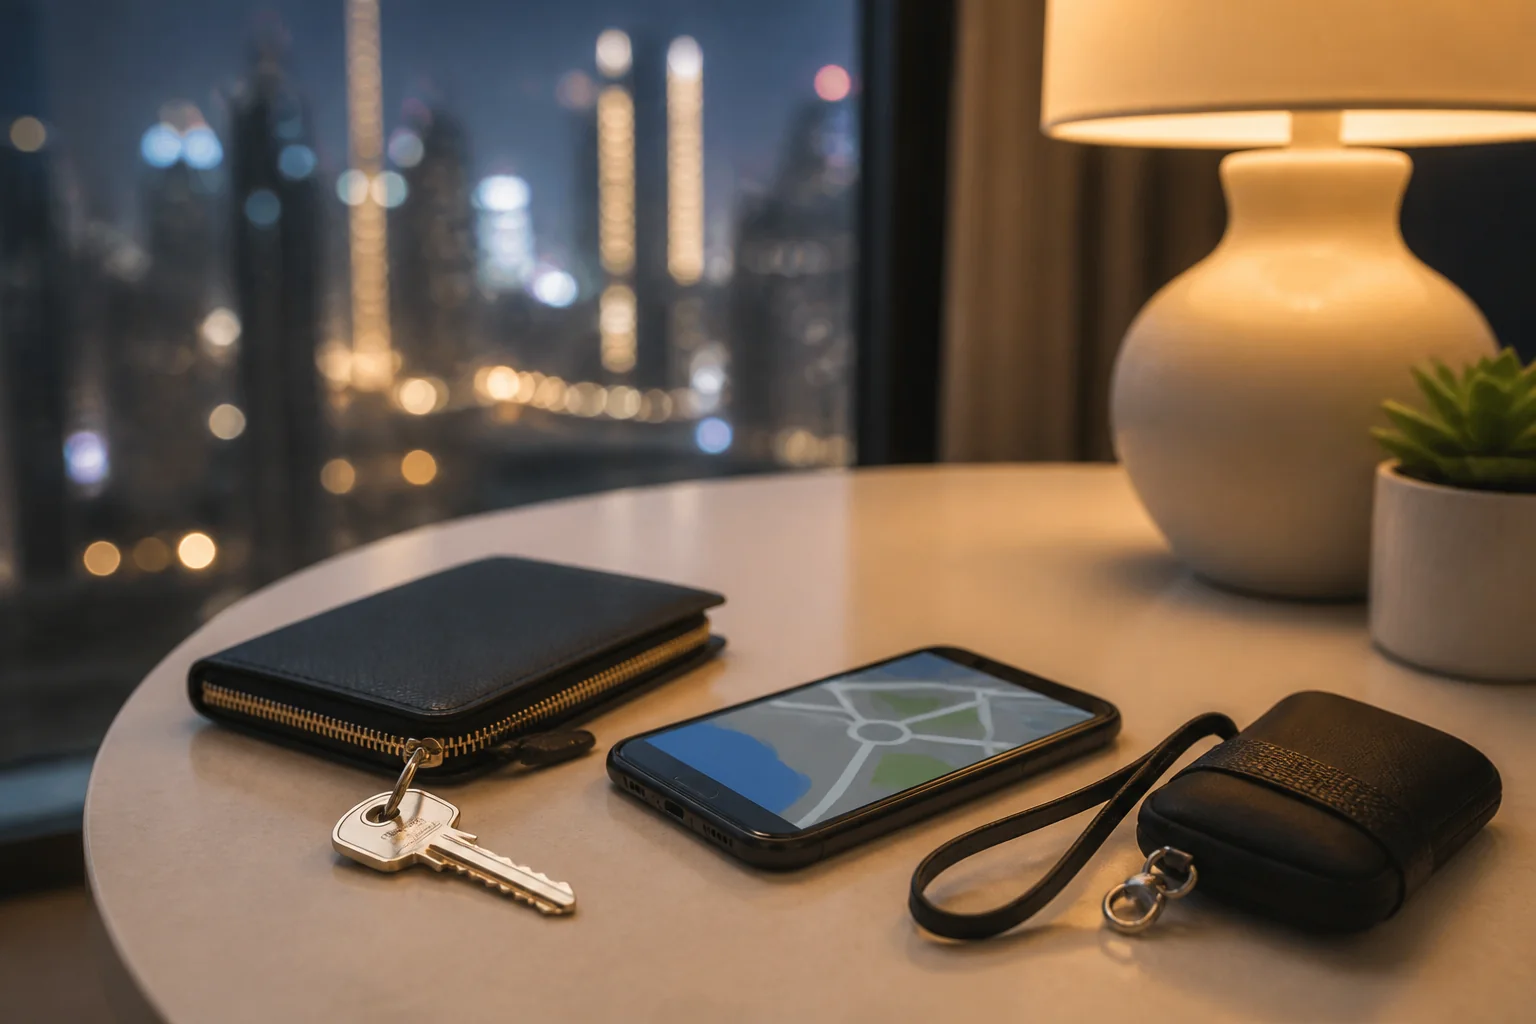
Six learning ideas for independent preparation
These exercises were devised for practice. They do not replace an official brief or form a ready-made portfolio to copy. Choose a topic connected to your intended field and develop your own solution.
| Idea | What to do | What to show |
|---|---|---|
| Clothing for an everyday situation | Design a garment for travel, study or work within clear constraints | Observations, silhouette options, material choice, details and reasoning |
| A small study space | Rearrange a real room corner for studying | Original measured plan, layout alternatives, lighting and final diagram |
| An awkward everyday object | Investigate an object and propose a change | Problem photographs, sketches, a simple model and test findings |
| An event’s visual identity | Design material for a learning exhibition or local event | Audience, typography, colour, poster and adaptation to a second medium |
| A photographic series | Explore one theme through your own sequence of images | Contact sheet, selection, order and compositional reasoning |
| A small digital interaction | Design appointment booking or event seat selection | User task, steps, rough screens and revisions |
You do not have to complete all six exercises. For Marangoni’s six creative ideas requirement, first confirm how your six pieces should be presented. Do not equate the number of ideas with the number of pages without confirmation.
An example spread showing a workspace in a small room
Learning scenario: a desk sits beside a walkway, storage obstructs legroom and light falls onto the screen. The designer wants to improve the space without buying furniture.
The first block contains an original photograph and simple measured plan. The second shows two arrangements and explains constraints. The third presents a model of the selected option and checks whether the chair can be pulled out, materials reached and door opened. The last gives a short reflection on remaining improvements.
The project’s value is the clear connection between problem and solution. An attractive rendering can support the story, but does not automatically explain why the space works better.
Assembling the PDF
Use the official page and file limits where specified. If none are stated, ask admissions staff. A useful document sequence is:
- Cover with your name, subject and contact details.
- A short contents section if there are many projects.
- Work ordered to demonstrate different skills.
- Captions stating the task, your role, tools and date.
- Reference sources and shared-work contributions where necessary.
Start with a project you can explain confidently. Keep caption sizes consistent and the order clear between spreads. Check readability at normal viewing size: tiny text and crowded collages make even a good idea difficult to assess.
Before submitting, open the final file on another device and check images, links, page order and the absence of editorial comments. Ensure it meets the file-size limit and any cloud link can be opened by admissions staff without requesting permission.
If you do not have finished projects
Start with a small observable object or situation. A bounded task with a clear outcome is more useful for a first piece than an imaginary whole-hotel project or a collection without research.
You can use this work plan:
| Stage | Outcome |
|---|---|
| Check requirements | List of what your particular programme needs |
| Take stock | Your drawings, photographs, schoolwork and personal projects |
| Identify gaps | Skills you cannot yet demonstrate |
| Develop work | New projects with drafts and intermediate decisions retained |
| Assemble | Readable document with captions |
| Review | Brief compliance, accurate authorship and technical readiness |
Timing depends on your starting point and the assignment. Do not promise yourself a strong portfolio in a fixed number of days. First assess the workload and submission deadline.
Authorship references and generative AI
A reference is material you investigate; your own work is the result whose decisions you can explain. Credit other people’s images, do not present them as your drawings and identify contributions within group projects separately.
If you used generative AI, check the programme’s rules. Where it is permitted, state the tool’s role and retain evidence of your work: sketches, intermediate versions, decisions and changes. Do not describe a generated image as a hand-drawn illustration or manufactured object.
These recommendations make authorship transparent; they do not replace an institution’s academic policy.
Common mistakes
Only final images. Add context and process where the brief permits them.
The same selection for every programme. Fashion design and multimedia may need different emphasis.
Decorative captions. Instead of “inspired by the future”, explain the task, constraints and selected solution.
Uncredited work by others. Identify sources and your role even in learning collages.
Unmet technical requirements. Attractive presentation does not compensate for an incorrect format or missing compulsory item.
Choosing work for a particular design programme
First decide what you want to communicate about yourself. One applicant may emphasise observation and interest in materials; another, visual storytelling or solving user problems. Do not try to prove mastery of every design field in one selection. A clear connection between interests, projects and chosen subject is more useful.
Place suitable work beside each course requirement. If a requirement has no match, decide whether an existing project can address it or a new one is needed. Do not add a random illustration simply to increase the count. Every element should help readers understand something about your thinking or skill.
Separate compulsory material from extras. If the programme requires a particular creative-ideas format, fulfil that first. An additional project makes sense only if permitted and informative. Do not send a large archive instead of the requested selection, hoping the panel will find the relevant pieces itself.
Check the study level. A beginner and someone who already holds a relevant degree may be expected to submit different material. Do not use master’s requirements for a school leaver or vice versa. Establish requirements before deciding project depth and process detail.
Turning an interesting theme into a manageable project
Themes such as ecology, the future or the city are too broad alone. Narrow one to a situation: reusing packaging, improving a workspace or helping people navigate a small event. Describe the user, context and constraint. This creates a task that can show your decisions rather than merely attractive references.
Ask what you can observe without invented research. You could investigate your own workspace, photograph details with permission or compare several model versions. Do not claim users prefer a solution if you have not tested that. Honest scope and limitations are sufficient for learning work.
Choose a minimum outcome you can finish: a spread, paper prototype, image series or interaction diagram. An unfinished broad theme is often harder to understand than a small project with a clear conclusion. Do not imitate a full agency research project. Present the work you can do carefully and explain what remains untested.
A fashion design example for a specific daily routine
Imagine designing a garment for someone moving between classes and a creative workshop. This is a fictional independent exercise, not an actual Marangoni assignment. Start with constraints: important movements, items to carry and details that might obstruct activity. Do not choose a silhouette solely because it looks striking in an image.
Gather your observations and labelled references. Make quick sketches with different constructions or details. Explain why a pocket sits there, why a particular fastening is needed and how the material relates to the task. Where material properties have not been tested, label them as assumptions for further work.
Use accessible material for a simple prototype and state exactly what it tests. Do not present a paper model as a finished garment. Photograph stages and note changes between versions one and two. Even a small revision becomes meaningful when its cause is clear.
Keep the task, key sketches, chosen solution and conclusion in the final spread. Avoid dozens of near-identical alternatives. Captions should explain your thinking rather than repeat the theme. If nothing was physically made, finish honestly at concept level and state what should be checked next.
A product design example using an awkward everyday object
Choose an object you actually use and describe a specific inconvenience, such as difficulty storing, opening or holding it in one hand. Start with the observed situation rather than declaring the existing product bad. Photograph the object and action where this respects others’ privacy.
Break the problem into constraints. What cannot change: storage dimensions, available material or method of use? Sketch several solutions, identifying an advantage and possible drawback for each. This shows consideration of trade-offs rather than merely replacing an existing shape with a more unusual one.
Build a simple model and test only what it genuinely allows you to assess. Paper can help evaluate size and component placement, but does not prove the strength of a future product. Do not attribute untested properties to a prototype. Separate visual checks from functional testing.
On the final spread, show the starting situation, two or three alternatives, prototype and revision after testing. Briefly explain why one solution was rejected. This is more useful than an unsupported claim to have selected the best option. An admissions project should reveal thinking rather than pretend to demonstrate production readiness.

A visual communication example for an event
Invent a small learning event: a schoolwork exhibition, club meeting or project showcase. Clearly label it fictional if it did not take place. Define the audience, where materials will appear and the key information. The design should help someone understand what is happening and what to do.
Start with the information hierarchy: title, date, place and participation conditions. Try different compositions and typography. Show why one version reads better than another. Do not mix many fonts merely to demonstrate variety. Every choice should support a particular message.
Develop at least two related formats where appropriate, such as a poster and a small digital announcement. Explain what remains consistent and what changes with the format. Simply shrinking a large poster may not demonstrate adaptation, so assess readability and information order separately.
Ask someone unfamiliar with the project to identify quickly where and when they are being invited. Record misunderstandings and revise the layout. Show both versions in the portfolio. Describe this as a small learning test, rather than research into an advertising campaign’s effectiveness.
A multimedia example using a photographic series
Choose a theme you can observe yourself: light in one space, repeating forms or changes in a familiar place. State what the series should communicate. Attractive individual photographs do not necessarily form a sequence, so plan the beginning, development and conclusion of the visual story.
Take more photographs than you will include and retain a contact sheet to show selection. Choose images serving different roles: context, detail, transition or final emphasis. Explain the order and exclusion of repetitive images. Do not keep a photograph solely because editing it took considerable time.
If colour or cropping changed, show meaningful decisions and disclose substantial processing where it affects interpretation. Obtain necessary permissions for people and private spaces. Do not use someone else’s photographs as your own series. Credit reference photographers separately from your project’s output.
Leave enough room for the images on the spread. Lengthy explanation should not replace a visual relationship. A short caption can name the theme, method and selection principle. If the series lacks coherence, show revisions honestly rather than describe it with elaborate language unsupported by the photographs.
A digital design example for appointment booking
Imagine a learning prototype for booking a meeting. Describe the user and task: choose a suitable time and understand what happens after submitting the form. Begin with the action sequence and information actually needed to finish, rather than a decorative home screen.
Create rough screens without elaborate styling. Check date selection, data entry, error messages and confirmation. This demonstrates consideration of different states rather than an idealised picture alone. Label all prototype text and data as illustrative if they do not relate to a real service.
Ask someone to complete the scenario without telling them the next step. Observe where they stop or misinterpret a message. Correct a specific problem and show the change. Do not call one walkthrough comprehensive user research: it is a limited check of a learning prototype.
In the final description, explain your role and tools. If no code was written, call the result a prototype rather than a functioning application. Identify ready-made components where used. The panel should understand which decisions are yours and whether the project demonstrates logic, a visual system or implementation.
Writing captions that explain the work
A good caption answers something that cannot be understood just by looking: why an element moved, which constraint mattered or what a test revealed. “Final project version” adds little. Identify the specific decision and its relationship to the task.
Compare two illustrative captions. “A modern chair for the future” describes an impression without explaining intent. “The model tests whether the object fits under a narrow desktop; the backrest height changed after the first version” identifies the task and action. Do not add technical properties that were neither measured nor tested.
Use the first person where authorship matters: what you researched, drew, assembled or changed. Distinguish your contribution from the overall outcome of joint work. If a teacher helped, do not claim their decisions as yours. Transparency is more useful than presenting every learning project as entirely independent professional work.
Check English captions if the programme requires them. Translation should preserve meaning and certainty. Do not turn “I assumed” into “I proved”, or a learning model into a finished product. Linguistic complexity is not the goal: clear short explanations make a portfolio readable without further conversation.
Editing the selection and removing repetition
Lay out thumbnails and label the skill each piece demonstrates. If several projects communicate the same thing, choose the strongest or reduce repetitive pages. Aim for varied substantive evidence rather than the largest image count. Variety does not mean losing a coherent connection.
Check the beginning and end. The first piece should be clear and strong enough to establish expectations; the last should leave a clear sense of your interests and level. There is no universal compulsory order. Follow the brief and content. If the programme specifies a sequence, use it rather than your own compositional preference.
Consider how much attention the portfolio’s presentation demands. It should support the projects. Complex backgrounds, decorative frames and tiny captions can obstruct reading. Establish clarity in a simple layout before adding visual decisions. A good grid supports comparison but cannot repair weak project content.
Getting feedback while retaining authorship
Ask someone to assess the task’s clarity and sequence rather than invent the project for you. Useful questions include “Where is my contribution unclear?”, “Which conclusion is unsupported by the image?” and “Which page repeats the previous one?” This helps you edit your own work while retaining your decisions.
Record comments and decide which to accept. You need not follow every suggestion, especially one conflicting with the brief or direction. Explain the reason for each change to yourself. If repeated feedback makes the portfolio less coherent, return to the requirements map and your main message.
Keep dated versions so you can see development and return to earlier decisions. Do not overwrite the only copy before submission. A small project needs only a clear folder structure: sources, intermediate versions and final submission. Organised files help prevent last-minute technical mistakes.
Preparing to discuss your portfolio
Choose two projects and practise explaining each in a few minutes. Start with the task, then the main decision and conclusion. Do not memorise a long script without being able to answer follow-up questions. The conversation may change direction, so understand the work rather than only remembering a presentation.
Prepare to explain what you would change with more time and why you rejected an alternative. You do not need to defend every detail as perfect. Identifying limitations and proposing a next step supports a substantive discussion. These are preparation suggestions, not guaranteed interview questions.
If you learned an unfamiliar tool from a tutorial, explain that honestly. For joint work, name your part. If the result was weaker than expected, describe what you learned. Do not invent real-world testing to make the story persuasive: follow-up questions quickly expose inconsistencies.

Checking the PDF before submission
Open the document in an ordinary viewer and inspect every page at its intended reading size. Are captions legible, images complete and fonts preserved? If submitting a link, test it from another browser or while signed out of your account.
Ensure the final file meets format and size requirements. Do not add a password unless requested. Do not send the source project instead of the required PDF because it looks better in the editor. Ask admissions staff how to transfer large material if necessary.
Check filename, author, programme and version. Remove editorial comments, other people’s personal data and unnecessary draft pages. Save the submitted version separately from later revisions. You can then discuss the same selection the panel received at interview.
When the deadline is close
Start with compulsory requirements and your existing original work. Avoid simultaneously learning a complex new tool and undertaking a large project. Choose something you can finish and explain. Accurate captions, a clear process and a correct file often take less time than a complete visual redesign.
Separate essential submission tasks from desirable extras. Essentials include format, required item count, authorship and clarity. Extra animation or a decorative cover should not take time from an unfinished core assignment. Assemble a technically correct version first, then improve it within the available time.
If a requirement cannot be met, ask the programme which alternatives are permitted. Do not assume an extension or acceptance of an incomplete package. Do not buy someone else’s portfolio or misrepresent your experience: admissions material should show your preparation and interests.
Making a mood board part of research
A mood board is a selection of visual references. For an application project, explain what you are investigating: colour, shape, material, rhythm or atmosphere. Do not collect images solely because you like them. Identify the part of each reference connected to the task and credit external material.
Move from the collection to your own experiments. Texture research might lead to testing an accessible material, while rhythm might lead to a series of compositions. Show the transition alongside the reference: observation and your response. This demonstrates how the collection supports development rather than replaces it.
Do not treat a mood board as proof that you created every image. If most material belongs to others, make your contribution clear through selection, analysis and subsequent work. Programmes may use this format differently, so check its role against the brief. An attractive collection is not automatically enough for every creative course.
Remove images repeating the same idea. Retain a few purposeful references with a short explanation. If a long paragraph is needed to justify a reference’s relevance, it may be unnecessary. A strong research spread quickly communicates the direction and its influence on your own work.
Five questions for reviewing a project
Before including a piece, ask whether its task is clear, your contribution visible, the process shown, the result explained and the brief met. This is an editorial self-review framework rather than an official Marangoni or DIDI scoring system. It identifies gaps before submission without simulating an admissions decision.
If the task is unclear, add context or narrow its wording. If your contribution is hidden, label what you did. If process is missing, check retained drafts rather than inventing stages retrospectively for a better story. Explain limited material honestly and show another project in greater detail if appropriate.
If the result does not address the task, revisit the explanation or solution. You might claim improved usability but show only a colour change. That can still be a meaningful visual study, but should not claim a functional effect without testing. Align what you promise with what the images actually demonstrate.
Finally, check submission format. Even a successful independent project does not override the university’s brief. Confirm dimensions, file types, item count and required material. If ambiguous, send admissions staff a short question describing your intended format without unnecessary personal documents.
Dividing content between portfolio and personal statement
The portfolio shows your work; the personal statement explains your educational choice. Avoid repeating a lengthy description of every image in the statement. Explain which interests connect the projects and what you want to learn next. Visual material should make sense independently but need not tell your entire application story.
If one project particularly influenced your subject choice, identify the specific insight. Perhaps it revealed an interest in user behaviour or physical materials. Do not turn an ordinary exercise into fictional commercial success. Understanding your own learning needs can already provide meaningful motivation.
Check consistency of dates, titles and authorship across documents. If the portfolio calls a project teamwork, the statement should not describe it as wholly independent. If unfinished, state the same stage throughout. These details support assessment without contradictions or inflated achievements.
What to retain after submitting
Keep the exact submitted version, delivery confirmation and current course requirements. Name files so the final is distinguishable from working copies. If the panel requests additions, create a new version and record changes. Do not silently replace an old file, especially one already discussed.
Keep source files separate from the PDF. They may help explain the process or support later work, but need not be sent unless requested. Retain your photographs, sketches and meaningful intermediate decisions. Avoid an undifferentiated archive of downloaded images: references and original material should be distinguishable.
If applying to several programmes, keep a separate package for each. Requirements, ordering and emphasis may differ. Ensure the course on the cover matches the recipient. Before an interview, open the version the university received and prepare to explain those pieces, rather than a later revision.
Continue developing skills after submission, but do not assume new changes automatically become part of the application. If you want to replace material, first clarify the permitted procedure. This preserves a clear correspondence history and avoids discussing different documents under the same title.
Choosing the next project after your first selection
View the portfolio as a map of demonstrated skills. If it contains many visual experiments but little explanation of problems, the next project could show research. If ideas are clear but untested, try a simple prototype. Do not repeat a successful piece almost unchanged simply to add pages.
Choose one new question and limit its scope. For example, examine how readability changes in a different format or test a physical model’s dimensions. Maintain the connection with your intended field. The new piece should develop the portfolio rather than turn it into unrelated textbook exercises.
After completion, decide whether it improves the submission. Replacing a weaker piece may be better than adding another section. Respect programme limits and the reader’s time. A portfolio improves when every element has a clear role and reveals something substantive about your preparation, even without more pages.
This approach remains useful after applying: you develop a specific skill rather than just wait. New material remains separate work until the programme permits additions to the submitted package. Keep dates and versions to distinguish learning progress from the formal application history.
Frequently asked questions
Must I draw professionally
Requirements vary. Marangoni’s creative-ideas list includes several visual formats, not only drawing. Choose a method that meets the brief and communicates your thinking.
Can I use schoolwork
If it is yours and meets the brief, consider it for selection. State the educational context, date and your role. The programme sets the final submission rules.
How many pages are required
There is no universal number. Follow the course requirements. Six creative ideas and six pages are different requirements.
Does a portfolio replace English evidence and school qualifications
No. Creative material is one part of the application. Academic documents and language conditions are assessed separately; the application documents guide can help you prepare the package.
Choose the programme first, then prepare work for its requirements. For help selecting a subject and understanding the application process, contact Right Step with your preferred course, education and intended entry date.



 English
  Russian